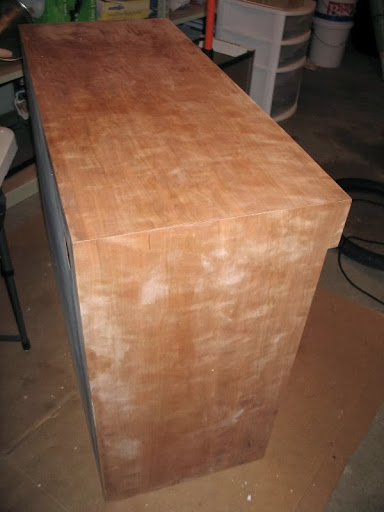
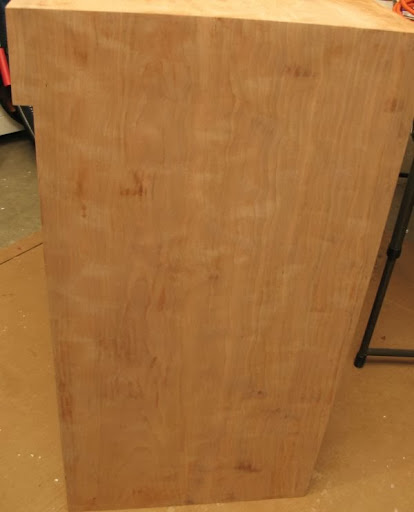
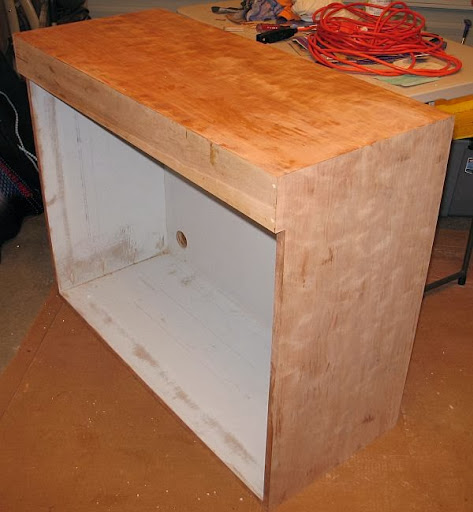
After purchasing the veneer for this project about 3 years ago I finally started on it this past fall. It's been slow going, but here's the progress on the stand thus far. The stand is a little bit longer than the tank (an ADA 90-P). Rather than the usual holes on the sides of the stand they will be on the top of the cabinet so the inlet / return hoses go straight down into the stand. A bit like the design on the bottom of this page, but only on one side.
The construction was done using 3/4" MDO plywood with the exception of the front header, which is solid cherry. All joints are rabbeted and screwed and glued using pocket hole screws. I'm still in search of some veneer that is wide enough to do bookmatched doors on the front. Excuse the glue residue. I applied the veneer using a veneer hammer and hide glue and have yet to clean up the excess. The solid cherry header is backed by a piece of 3/4" MDO plywood and is super strong. I can sit on the front in the middle and there is no flex and I'm about 185 lbs. The header has yet to be veneered as well. I chose solid wood there because at one time I considered doing a very slight bevel on it to mimic the bevels on the glass of the aquarium.
The inside will be painted either white or light grey as a nod to the ADA tank it will hold.
Custom Cherry Stand Build
Re: Custom Cherry Stand Build
Coming along nicely! This is a long time in the works! Are you planning on building any shelves or storage into the cabinet itself for all of your implements, or do you expect the sump, dosing equipment, and CO2 will take up all of the space?
Re: Custom Cherry Stand Build
No shelves. I expect the sump and everything else will take up most of the space. I'll probably have some small shelves on the insides of the doors for food, supplements, and scaping tools.krisw wrote:Coming along nicely! This is a long time in the works! Are you planning on building any shelves or storage into the cabinet itself for all of your implements, or do you expect the sump, dosing equipment, and CO2 will take up all of the space?
Re: Custom Cherry Stand Build
For those that missed the meeting. The water is still clearing up and I'll post pics of the scape as it matures...
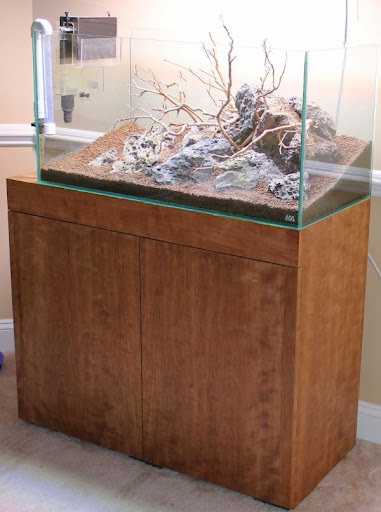
So, better late than never right? I used a wipe on poly in satin finish and did 3 coats. The inside is a gloss white enamel and the doors have 170° Blum soft close hinges and magnetic tot locks to keep the little guy out.
From the right side...
This pic is a good representation of the color.
The inaugural hardscape...
Re: Custom Cherry Stand Build
The stand looked awesome at the meeting, Aaron, as did your initial hardscape. I'd love to see it planted since I had to leave early. How did the substrate slope hold up?
Re: Custom Cherry Stand Build
Nicely done Aaron.
Re: Custom Cherry Stand Build
Looks fantastic. Now you have me wanting to take that intro furniture class at the Woodworker's Club... Does the poly satin finish you use do a decent job of protecting the wood from water damage?
Doug
Doug
Re: Custom Cherry Stand Build
I don't know about Aaron, but my finish is 3 years old now with no issues. BUT if I had to do it all over again, I'd use a stone countertop surface and do my plumbing up through the bottom of it. I'd never have to worry about spills.
Re: Custom Cherry Stand Build
Yeah, so far I'm not impressed with the durability of the finish. It stinks because I really like the look. I spilled a little flourish on it the other day and there's a small stain.
I might try to rub in some linseed oil overtop of it. Would that work Sam?